
Software
Blogger
I used Blogger throughout all stages of the production of my media product during both AS and A2 and it had provided and incredibly useful tool for recording and presenting my work. There have however been some issues with importing images into Blogger and moving them around, however I managed to make use of my computing knowledge and edit the HTML of my blog posts to give them the look I want and to get the formatting correct. My prior understanding of html was also useful when it came to embedding documents and presentations into my blog posts which I have done for all variety of situations, ranging from embedding an article on mental health for my secondary research to embedding excel sheets into my third evaluation to display the results of my audience feedback survey.

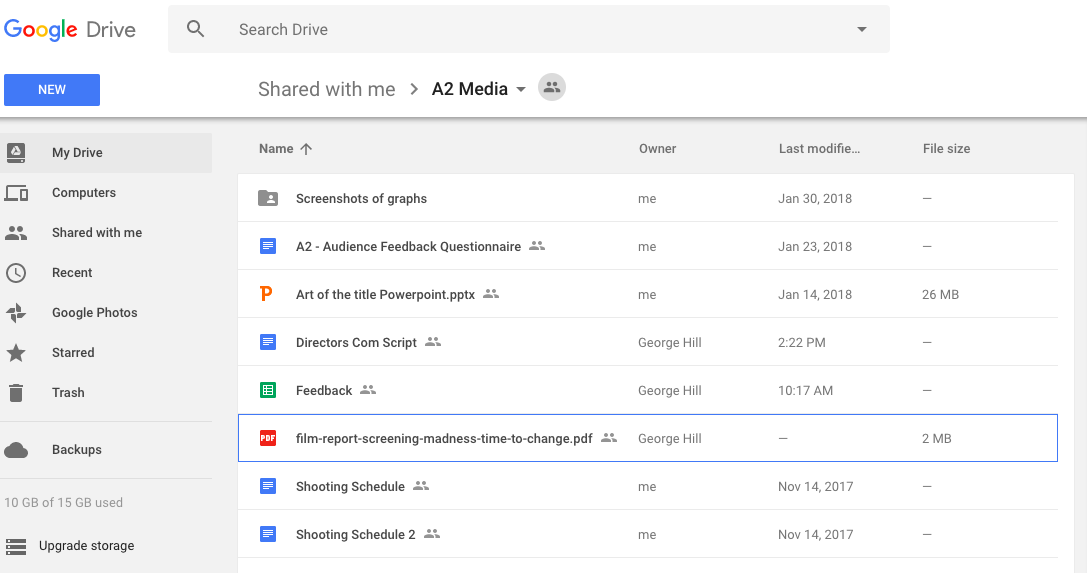
Google Drive
Google drive was especially useful for me as I created my media product working in a pair and google drive allowed me and my partner to collaborate on documents at the same time from separate computers with ease. We created a shared google drive folder at the start of the year which we could both edit and the put any documents relating to the media product in their allowing us to both be able to work on them and see what the other one has done in real time.
Celtex
We made use of several of the different features provided on Celtex, using it for our script, shot list and props and location breakdowns. Celtex allowed us to present these as if they were professionally created and was very user friendly and simple to use. It also allowed us to share a folder between both me and my partner's Celtex accounts where similar to google drive we could see what the other one did in real time. It also cleverly encouraged you to work by having a timer at the bottom which told you the time you had spent thinking compared to the time you had spent writing. Once we had created our script it allowed you to go through it and tag your individual shots, allowing a quick way to create your shot list. Overal Celtex was hugely useful however we encountered a problem right at the end of our time using it that our free trial ran out. This meant we were not able to edit anything but by this point we had already downloaded our finished script, shot list and props and location breakdown to put on the blog so we could use these.


Incompetech.com
I made use of Incompetech to get trial music to use in my trailer, there is a huge selection of royalty free music organised by all variety of genres. Music here not only helped inspire me for the music I made for my final trailer but I made use of three separate tracks from Incompetech to use in my animatic, one for each act of the trailer.

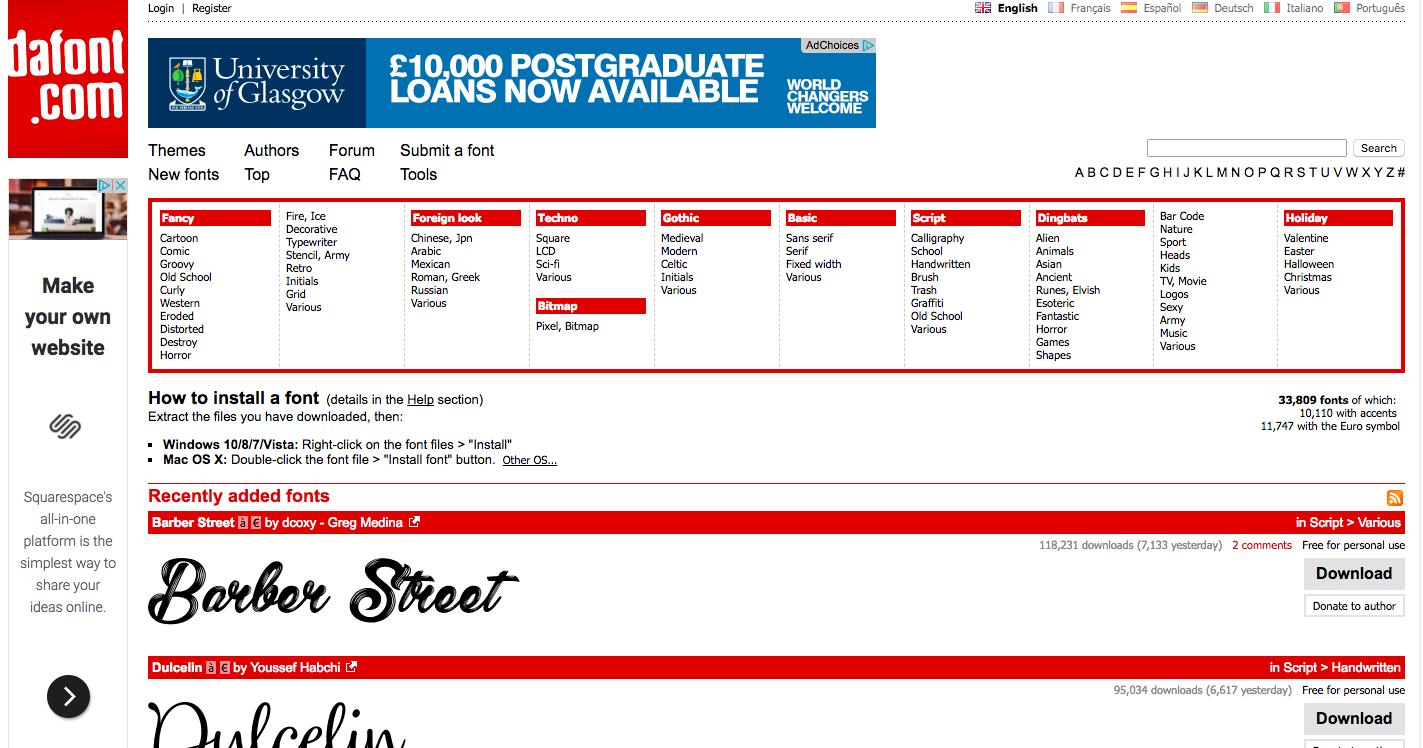
Dafont.com
I used dafont.com to give me inspiration for the final font that I created myself for both my film title and my magazine title which were both based off a font from dafont.com names 'Lemon Milk'. Separate to this I used dafont.com to get the fonts for my inter titles in my trailer, I made use of four different fonts for each inter title to match my inspiration of the inter titles in 'Killing of a Sacred Deer' and unfortunately I did not have the time required to make each of these fonts as well as making the title font so dafont.com came in handy. I also made use of the font 'True Lies' from dafont.com when I mentioned in an inter title that the trailer was from the same director as 'Ruby' , my AS media film opening, to create a cohesive brand.
Youtube
I created my own youtube channel for my production company to allow for a single place to post all of my rough cuts, final film, animatic and director's commentary. Youtube also helped me to get audience feedback through youtube comments from my audience on my rough cuts to give me ideas of what needed changing so I could best meet my target audiences needs.


Premiere
I used Premiere to edit together my trailer, last year for my AS media product I used Final Cut Pro but I realised that this was lacking in several incredibly useful features that I knew were included in Adobe Premiere so made the decision to teach it to myself to use instead. Premiere allows for incredibly easily importing in linked After Effects compositions which when they are edited in After Effects they will be updated in Premiere saving you having to re render and import your After Effects compositions every time you want to change something. Premiere also has a feature called 'sequences' these let me create an individual sequence for for each scene Premiere automatically saves these sequences as if they are ordinary footage allowing me to create a master sequence and input each of the scenes in there and when they are edited in the individual scene sequences they are updated in real time in the master sequence. This was incredibly beneficial to me as it meant my partner and I could separately work on different scene sequences at the same time and put them together with ease without interfering with each other's work. Premiere also provided far greater freedom in colour correction, it took a bit of effort to learn but once I had it let me create very realistic and professionally coloured shots.

Garage Band
I used Garage Band to compose the music for my trailer. It allowed me to easily import and loop already created tracks for the bass line and drum beat. Then for the melody I used the in built keyboard which lets you play notes and it will add them to your composition. You can then change the duration and pitch of each of these notes after. Garage Band also allows you to change the instrument so I would play the pieces on the digital keyboard to have it sound as if it was played on any instrument of my choice. I also used the feature in Garage Band to import video to compose alongside it, this meant once I had finished the mater of the edit I could render it in low quality to be used to compose the music exactly to fit the visuals.

Illustrator
This year, in contrast to my AS media product I decided to create my own font for my film title and for my magazine front cover. To do this I had to learn how to use Adobe Illustrator which I had never used before. It actually turned out to be surprisingly easy to use, I imported a base font, 'Lemon Milk' from Dafont.com (see above) and then proceeded to use the different selection tool to manipulate the different corners and points on my letters to create my very own font.

After Effects
After Effects provided very helpful for all variety of uses in my trailer, I used it to make the idents at the start of my trailer similar to how I used After Effects in my AS media product. However, this year I also used it to create the inter titles in my film trailer, incorporating my own font i created in Illustrator. Even though it did not make it in to the final trailer this year I also had a play around with super imposing different images over my characters, see below me attempting to place cracked paint over Eve to depict her fractured identity. This turned out to be far more difficult than expected as it was tricky to track all of the points on her face and to deal with her fringe as she moved her head.

Photoshop


Excel
Excel is incredibly useful when it comes to managing data, I made use of excel after I held an audience screening for audience members in my target audience to come and view my trailer and fill out questionnaires, to help me collate the results. Excel allowed me to create tables of data and then select groups of data to have them formatted into easily understandable graphs to display my results from the survey.

Powerpoint
I used powerpoint to make a presentation to describe how my trailer conformed and subverted conventions of real media texts. Microsoft powerpoint allowed me to easily import in screenshots of my trailer along with images I found on google images of my inspirations then format them with text boxes explaining the decisions I made. I found powerpoint provided me far greater freedom and ease than blogger in moving around images and text, it also allows me to step through the presentation a slide at a time.

Prezi
Lastly I used Prezi, again for evaluation question 1 but this time to illustrate how my poster and magazine front cover conformed and subverted conventions of real media texts. Similarly to Powerpoint, Prezi is very simple to use and creates a very visually pleasing presentation that you can step through. However Prezi has the added advantage of animations, while this means Prezi's take longer to make this feature hugely aided me in talking about specific parts of my poster and magazine front cover as Prezi allowed me to then zoom in to these parts of the image to make it clear what I was talking about.

Hardware
Camera
I used a canon 80D to film my trailer, an upgrade from the Canon HG G25 that I used last year providing far greater freedom. The 80D allowed me to change lenses which I did multiple times during the filming process to allow me to achieve a wide range of shot types. The 80D also provided a large amount of choice when it came to manually adjusting the aperture, white balance, ISO, exposure and much more allowing me to get the shot exactly how I wanted.


Sound Equipment
I used the same sound equipment that I used at AS, a Rode microphone, boom pole along with a Tascam digital audio recorder and headphones. This allowed me to clearly record dialogue on set along with any background sound needed. I again made use of this equipment in post for recording foley sound for the bus stop scene as we had to film from the other side of the road.


Tripod


EB
No comments:
Post a Comment